1) First enable HTTPS, HTTPS may be enabled to ensure secure access to the web application of the RemotEye 4 IoT card, which will encrypt communication between the web browser and RemotEye 4. RemotEye 4 cards come with both HTTP and HTTPS enabled, however, should HTTPS be disabled, the following steps should be followed to enable it:
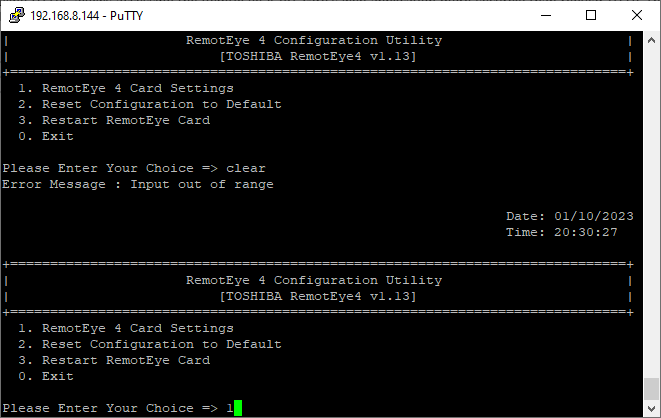
- SSH or Telnet to the RemotEye 4.
- Enter your admin credentials to access the console settings.
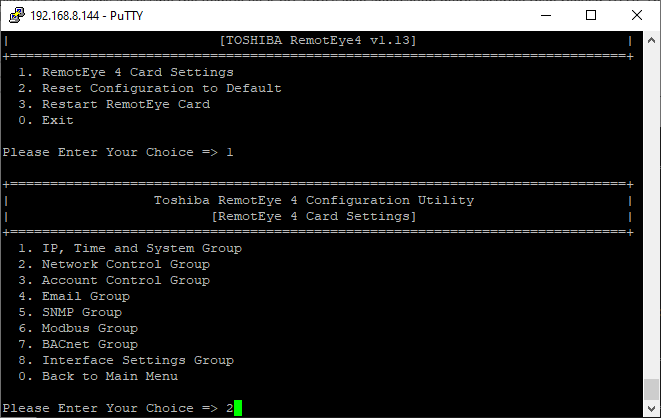
- Select "1" for "RemotEye 4 Card Settings"
Select "2" for "Network Contol Group"
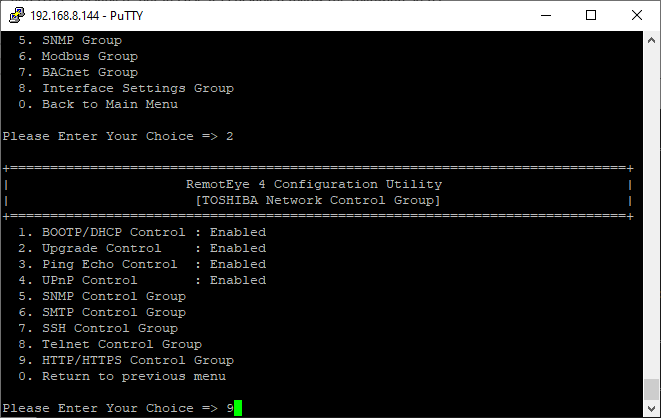
Select "9" for "HTTP/HTTPS Control Group"
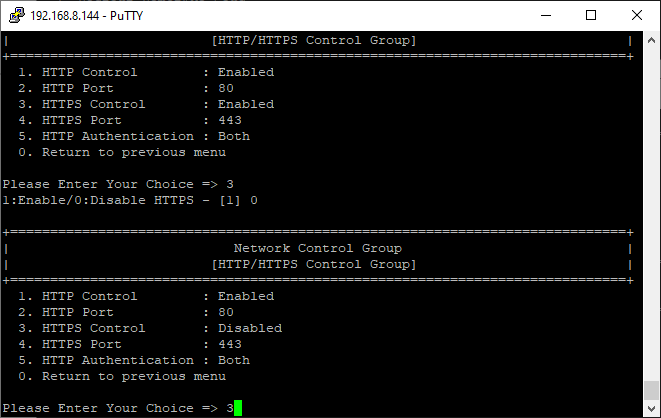
Select "3" for "HTTPS Control" and enable it.
2. Log in to become an Administrator and go to the settings page by clicking the "Settings" ▶ "RemotEye 4 System Settings" ▶ "System/Network"
3. Go to the HTTPS/SSL Certificate section

4. Choose to create a new IP or FQDN server CA certificate
5. Wait approximately 1 minute for the certificate to be created
5. Download the CA Root certificate
6. Open and Install the downloaded certificate
-For Windows users, navigate through the certificate wizard and install it under "Trusted Root Certification Authorities."
-For Mac users, navigate to "Keychain Access", drop the certificate under "System" and set "Trust" settings to "Always Trust"
7. Re-open the browser and reach web server using https://
|
Rate this Topic:
|
|||
|